If you've ever watched The Game of Thrones series on HBO, you know all about
Dragon's Eggs. The show inspired me to create some fantasy pendants. I wrote this
FREE Tutorial for the Sculpey.com site. I'm a member of the Sculpey Design Squad
for 2015, so I've also been writing Blog Posts for the site too. Check out the Tutorial
at: Dragon Egg Tutorial
Violet & Russet Dragon Egg Pendant
Olive Green & Burnt Orange
Check out more Dragon Egg Necklaces at
My Etsy Shop
Wednesday, August 26, 2015
Saturday, July 4, 2015
Summer Weddings: Polymer Clay Ring Dishes
My mini polymer clay Ring Dishes were featured on Polymer Clay Daily back in April.
Since then, I've branched out into many new jewel tone colors! My Etsy customers are
loving the customized, made-to-order versions!
"Always and Forever" in Aquamarine.
"Rainbow"
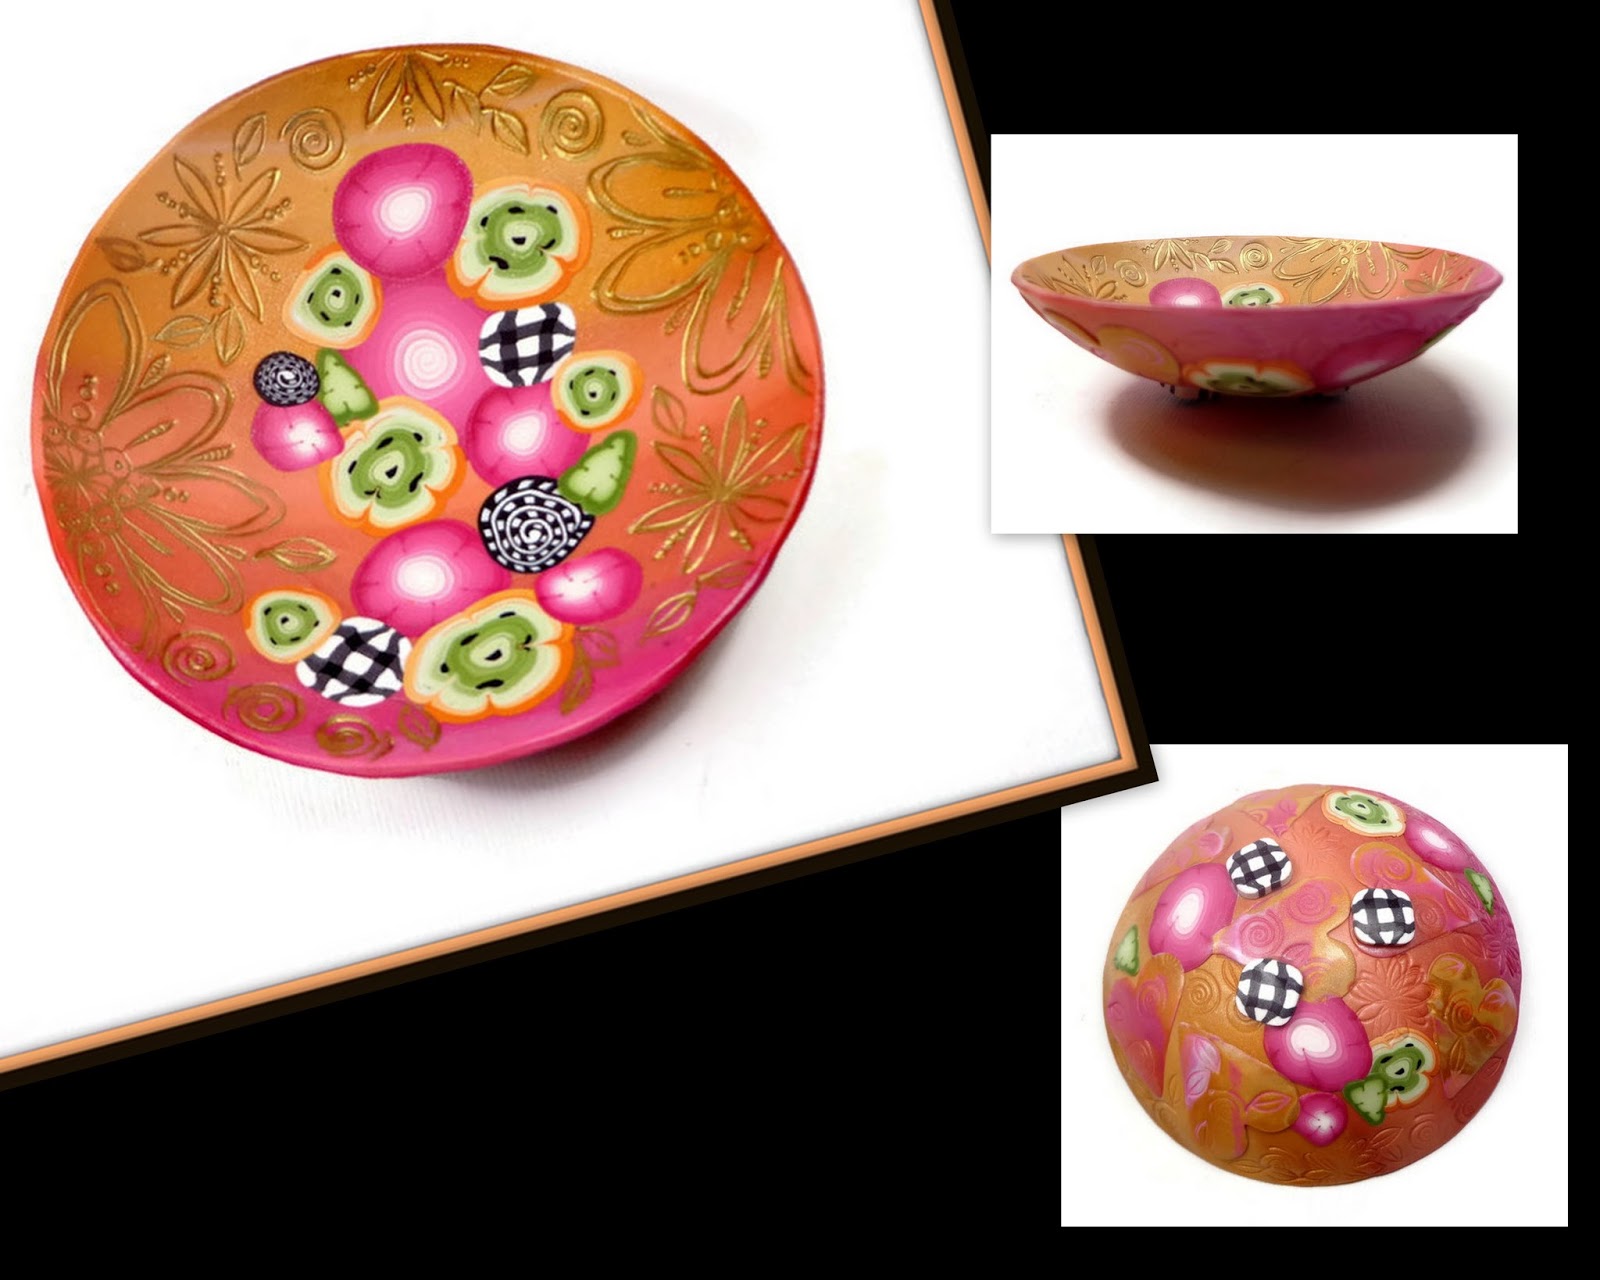
I'm also working on some Millefiori Bowls
Since then, I've branched out into many new jewel tone colors! My Etsy customers are
loving the customized, made-to-order versions!
"Always and Forever" in Aquamarine.
"Rainbow"
I'm also working on some Millefiori Bowls
Monday, May 25, 2015
Summer Jewelry Trends: Polymer Clay & Seashells
Summer breezes, salt water, sand, & Seashells! One of my favorite hobbies is collecting unusual
shells from our gorgeous Florida beaches. I love incorporating my finds into my polymer clay
jewelry.
The most difficult shells to find are the orange scallop shells, the tinier the better. Nature creates such stunning colors. The background of this photo was taken on Sarasota Bay.
Please stop by and visit my Etsy Shop: Beadazzle Me
to see these pieces and more Seashell Jewelry.
Tuesday, April 14, 2015
Spring is in the Air: Polymer Clay Fever
Lots of white Polymer Clay, Flowers, Butterflies, and Leaves, that's what you'll find on my work desk today!
This lovely Spring weather has inspired me to create a Floral Teapot, to add to my growing collection.Keep watching for updates on my Teapot to see how I finish it. I'm not sure if I will keep it all white, or maybe use some Patina Inks to add some subtle color washes. My neighbor stopped by to purchase 2 Butterfly Necklaces for her daughters, she saw me working on the Floral Teapot and loved it, so this one is already sold. I think everyone seems to love butterflies as much as I do:) Here is the completed
teapot, I used a turquoise patina ink, verdigris, and olive green. The finishing touch was the hi-lighting
done in 18K gold leaf.
I enjoy gardening & butterflies, so I always try to plant flowers that will attract colorful butterflies. My verbenas are just starting to bloom, in all their purple splendor!
Here are some of my favorite Butterfly Necklaces
See my Etsy shop for more Butterfly Jewelry Beadazzle Me
Thursday, December 4, 2014
Polymer Clay Faux Dichroic Jewelry
The Holidays are just around the corner, so I've been busy creating some colorful
Faux Dichroic jewelry for my Etsy Shop. I always wanted to work with real
dichroic glass, but this is the next best thing! I use a nice thick coat of Enviro tex lite resin
to bring my faux glass creations to life.
Happy Holidays! Happy Crafting!
Faux Dichroic jewelry for my Etsy Shop. I always wanted to work with real
dichroic glass, but this is the next best thing! I use a nice thick coat of Enviro tex lite resin
to bring my faux glass creations to life.
| ||
| Textured Rainbow Earrings |
Sunday, October 19, 2014
Trendy Stud Earrings Polymer Clay Jewelry
Small Stud Earrings
Wearable Art post earrings, a tiny pop of color
for your ears!

Large 3/4"

Large 3/4" Stud Earrings


Find these and more in My Etsy Shop Beadazzle Me
Wednesday, October 8, 2014
Polymer Clay Tutorial: Mica Shift Mystery Pendants
This is my third in a series of Mica Shift technique tutorials. I'm fascinated by the Mica Shift effect, and as this tutorial uses an extruder as a primary tool, it's got to be one of favorite methods. The Mica Shift technique can replicate a 3D-like illusion, some people call it Ghost Image, which seems appropriate this month for Halloween. I hope you will try my new tutorial, it's lots of fun, and makes a great weekend project, just click on the link below!
Mica Shift Mystery Tutorial
Monday, May 19, 2014
Polymer Clay Cuff Bracelet Tutorial
New Tutorial
Purple Millefiori Cuff Bracelet
I finally finished my latest tutorial, this one took a couple months to complete. I love making cuff bracelets, and I hope people will find my unique technique of constructing them, a great alternative to other methods.
In my new tutorial How to Create a Polymer Clay Cuff Bracelet I reveal my secrets to successfully creating a sturdy & flexible Cuff Bracelet, from start to finish. The Tutorial will guide you step by step on "How To Create" a fabulous Millefiori flower pattern bracelet.
You will learn:
Basic construction of cuff, my way
Decorating cuff/ Inspirations/Ideas/Millefiori technique
Finishing cuff/ Buffing/or Varnish
Drilling cuff & adding magnetic clasp
It includes 24 pages of easy to understand instructions, and 53 color images, Gallery photos of completed cuff bracelet projects. This Millefiori technique (of using small flower canes to decorate) may be used on pendants & other polymer clay pieces. I explain how I do all my millefiori work, so that it appears seamless, and requires little wet-sanding.
Suitable for use by Intermediate to Advanced level polymer clay enthusiasts, will also enjoy it. Some prior experience with polymer clay is needed.
Beadazzle Me Polymer Clay Jewelry visit my Etsy shop to see all my tutorials!
Purple Millefiori Cuff Bracelet
I finally finished my latest tutorial, this one took a couple months to complete. I love making cuff bracelets, and I hope people will find my unique technique of constructing them, a great alternative to other methods.
In my new tutorial How to Create a Polymer Clay Cuff Bracelet I reveal my secrets to successfully creating a sturdy & flexible Cuff Bracelet, from start to finish. The Tutorial will guide you step by step on "How To Create" a fabulous Millefiori flower pattern bracelet.
You will learn:
Basic construction of cuff, my way
Decorating cuff/ Inspirations/Ideas/Millefiori technique
Finishing cuff/ Buffing/or Varnish
Drilling cuff & adding magnetic clasp
It includes 24 pages of easy to understand instructions, and 53 color images, Gallery photos of completed cuff bracelet projects. This Millefiori technique (of using small flower canes to decorate) may be used on pendants & other polymer clay pieces. I explain how I do all my millefiori work, so that it appears seamless, and requires little wet-sanding.
Suitable for use by Intermediate to Advanced level polymer clay enthusiasts, will also enjoy it. Some prior experience with polymer clay is needed.
Beadazzle Me Polymer Clay Jewelry visit my Etsy shop to see all my tutorials!
Saturday, May 17, 2014
Polymer Clay Graphics
What's on my work table this week? Graphic Black & White canes!
I'm also working on a new Polymer Clay Tutorial, on how I construct my Millefiori Cuff Bracelets. I hope to have it completed soon:)
Please stop by and visit my Etsy Shop to see my latest designs!
Beadazzle Me Polymer Clay Jewelry
Please stop by and visit my Etsy Shop to see my latest designs!
Beadazzle Me Polymer Clay Jewelry
Friday, April 11, 2014
Polymer Clay Free Tutorial: Making a mold using Weeds, Flowers, & Pods
How to Make a Polymer Clay Mold
Spring has sprung here on the sunny West-Coast of Florida. Flowers are blooming, trees are lush and green, and the weeds are abundant! It inspired me to go for a walk in the woods, and as polymer clay is always on my mind, I decided to search for something new to use in my mold-making. I found so many interesting shapes and textures that I thought would lend themselves perfectly to polymer clay. A few of the plant specimens are shown below. I found it best to use them right away, as they seem to dry out quickly, and become brittle.
Use a conditioned piece of Premo clay that has been rolled out on the #1 setting of the pasta machine. Cut 2 small squares and lay them one on top of the other, so you have a double thickness of clay. Place the clay block on a baking tile. Dust the top of the clay with some cornstarch to act as a release. Trim the plant specimen and arrange it in a pleasing pattern on the clay block.
Next, cover your work with a piece of parchment paper. Using an acrylic square, press down to embed plants and stems.
I like to add a raised frame around the edge when I make a mold for a pendant, it really sets off the design. If you decide to put resin on your pendant, the frame has the added advantage of holding the resin on top of your pendant.
Now, place the mold in your clay oven, and bake for approximately 30 minutes at 275 degrees.
I hope you enjoy this tutorial, Happy crafting!
Tip: When using your new mold to make a pendant, dust it thoroughly with cornstarch, so the clay doesn't stick to the mold.
![]() | ||
| Pendant made using the mold with the raised edge frame |
*Note how nicely the thin edge holds the resin
Please stop by and visit my Etsy Shop for Polymer Clay Jewelry, and Tutorials: Beadazzle Me
Subscribe to:
Posts (Atom)