My latest experiments involve the use of some scraps leftover from other projects. I carefully save the little bits between layers of wax paper, and store them in plastic file drawers. Last weekend I decided it was due time to find out what was lurking in those secret drawers. What I discovered was a scrap pile consisting mostly of my favorite colors, purple, lavender, turquiose, & various blue-green shades. Here are the results of my weekend foraging:)
Most of these pendants are available in my Etsy ShopBeadazzle Me
Wednesday, September 26, 2012
Sunday, September 9, 2012
Polymer Clay Faux Gemstone Pendants Tutorial
Introducing my sixth polymer clay tutorial to my Etsy Shop: How to Create Faux Gemstone Pendants. It includes 29 pages of step-by-step instructions, 47 photos, and a Gallery section of completed projects. I've had so many requests to write a tutorial on this new technique, I sure hope everyone will enjoy it!
Thursday, August 23, 2012
Polymer Clay Tutorial: Mica Shift Swirl
Introducing my newest tutorial "How to Create Mica Shift Swirl Pendants". This is the 5th tutorial I have written about Polymer Clay techniques. It contains 51 photos & step-by-step instructions (30 pages) that guide you through the process. The tutorial also includes a bonus section, explaining how to make the matching earrings, and how to add the earring/pendant findings.Below are a few different variations on the same technique. If you are interested in my tutorial it is available in my Etsy Shop: Beadazzle Me
Tuesday, July 17, 2012
Wearable Art for your Ears
![]() |
Inks & Foil with 18K Gold |
I created a fern mold & made a few sets of these, with 14K gold findings. They are quite thin & delicate, with a generous coating of resin, to add shine & depth.
Of course, I had to make some purple earrings too, my favorite color!
These "Fairy Wing" earrings are something a bit different for me. I wasn't sure I liked them & I almost threw them in the reject bowl (yes, I have a Large reject bowl) but I managed to tweak them a bit & they turned out quite interesting!
I made these leaf shaped earring from an old Kaleidoscope cane. I love Hot Pink & Orange together, it's such a 70's retro look.
![]() | ||||||||||||||||||||||||||||||||||||||||||||||||
Mini Mosaic |
![]() |
Faux Turquiose |
Come take a peek at the other goodies I have for sale in My Etsy Shop Beadazzle Me
Friday, June 22, 2012
Making a Pendant Setting
Currently, I'm working on designing some pendant settings, to use with small cabochons. I'm making my own molds with Premo clay, by impressing found objects, then cutting them out with metal shape cutters. I used a mix of Premo metallic clays to make the pendant setting above. After I baked it I applied some Burnt Umber to give it an antique look. A few dabs of Treasure Gold added the highlights.
Now, I'm trying to decide what color cabochons to make as the insert. Here is a Turquiose, Metallic Tan, & White abstract cab. Whatever cabochon I use, I'll put a thick coat of resin on it to give it a fabulous shine.
![]() |
Silver clay with black accents, cabochon added |
Sunday, May 20, 2012
Tree of Happiness Pendants in Polymer Clay
The Tree of Happiness pendant is a new addition to my Etsy Shop this summer. I love trying new designs, and trees are a favorite of mine. Gardening is one of my many passions. We recently planted a Norfolk Pine tree, and 2 Red Cedars. The shape of these particular trees reminds me of Christmas trees!
This pendant is available in my Etsy Shop Beadazzle Me Norfolk Pine in the distance, Juniper front |
Magnolia and Red Cedar |
Wednesday, April 18, 2012
The Colors of Summer... New Work : Coral Sea & Sunset
I'm trying some new sparkly color combos with some of my rubber stamps & ink.
I love the browns, golds, & orange tones. White House Black Market is featuring
some new hues for summer: Coral Sea & Sunset, a delightful pairing of
red-orange & beige linen colours.
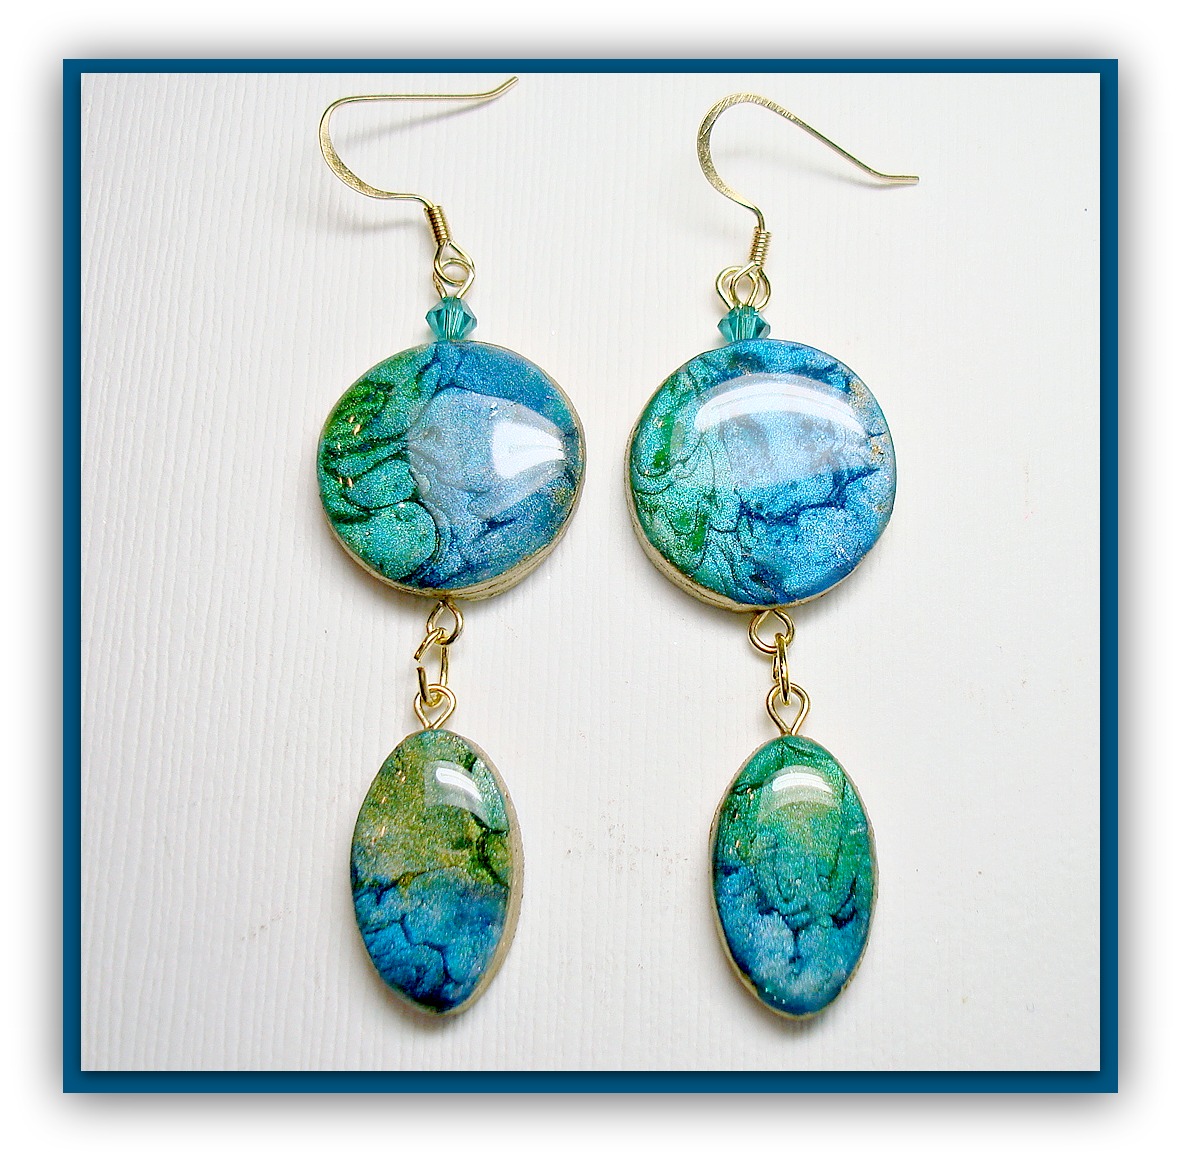
Sunset Dangle Earrings |
Tangerine/Gold Donut Pendant |
Find these new pieces in my Etsy Shop Beadazzle Me
Saturday, March 31, 2012
Polymer Clay Tutorial: Mica Shift Pendants
Mica Shift Tutorial
My New PDF File Tutorial is finally complete!
Click on the link above to view it.
This is 4th Polymer Clay tutorial
that I have made available in my
Etsy Shop, Beadazzle Me.
This tutorial will guide you step by step,
how-to create Polymer Clay Mica Shift Striped Pendants, it includes 30 pages of easy to understand instructions, and 53 color images.
Directions are also printed right on the photos,
so you may choose to follow the photos only,
for an easy, photo by photo version of the tute..
Suitable for use by Beginner's, Intermediate to
Advanced level clay artists, will also enjoy it.
Here are a few examples of my
completed Mica Shift jewelry
The Resin tutorial below is a companion tutorial to this one
How to Apply Resin to Polymer Clay Pendants
My New PDF File Tutorial is finally complete!
Click on the link above to view it.
This is 4th Polymer Clay tutorial
that I have made available in my
Etsy Shop, Beadazzle Me.
This tutorial will guide you step by step,
how-to create Polymer Clay Mica Shift Striped Pendants, it includes 30 pages of easy to understand instructions, and 53 color images.
Directions are also printed right on the photos,
so you may choose to follow the photos only,
for an easy, photo by photo version of the tute..
Suitable for use by Beginner's, Intermediate to
Advanced level clay artists, will also enjoy it.
Here are a few examples of my
completed Mica Shift jewelry
![]() | |||
Mica Shift Technique Earrings |
Gray/Silver/Gunmetal Pendant |
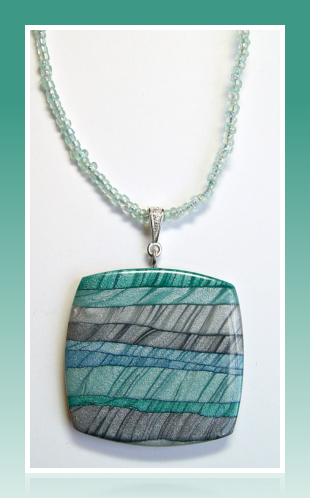
Sea-breeze Pendant |
![]() |
Mica Shift 1" Pendants |
The Resin tutorial below is a companion tutorial to this one
How to Apply Resin to Polymer Clay Pendants
Thursday, January 26, 2012
New Polymer Clay Tutorial
This tutorial illustrates how to apply a 2-part resin coating to the top surface of 3 Different Types of Pendants:
• Flat, smooth pendants, Steps 1-12
• Raised textured pendants, Steps 13-15
• Curved Pendants, Steps 16-19
• Adding a second coat of resin, Steps 20-21
I just released my third Tutorial, I thought I'd never finish this one! It has 35 pages & 61 Photos. The photos are close-ups, so you can easily follow the step by step format. The reason I decided to write this particular tutorial is that I've had so many customers & folks on my fan page ask me "How do you get that shine on your pendants"? Now, you can find out the steps I take to get that great domed effect & fabulous shine on the most difficult to cover projects like the Raised Surface Pendants, I make in my Cabochon Pendant Tutorial! This is the way I found that works best for me, and I get perfect results every time.
You can find my newest tutorial in my Etsy Shop Beadazzle Me
Saturday, January 7, 2012
Mica Shift Revisted
Subscribe to:
Posts (Atom)